Installing Atom and GitKraken
In this lesson, I am going to teach you how to install Atom and GitKraken on your laptop. This should be an easy process, but we have to disable McAfee for this process. Follow along with the pictures as well as the directions and we should be done in no time.
Step 1 - Locating McAfee
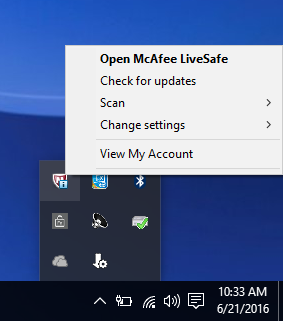
In your taskbar at the bottom right, locate the McAfee taskbar icon. It should look like the one in the picture. Right-click that icon and select “Open McAfee LiveSafe”.
Step 2 - Finding the Virus and Spyware protection option
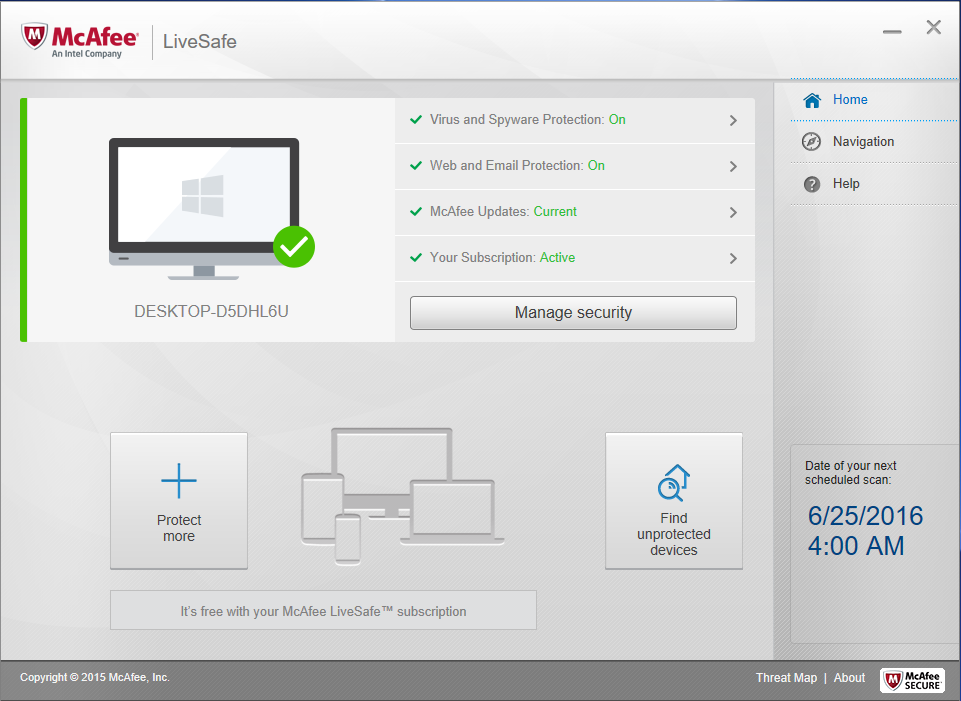
The following menu in the picture should pop up. From this menu, select “Virus and Spyware Protection” in the center of the menu. It should be the first option next to the computer screen picture.
Step 3 - Finding the Real-Time Scanning button
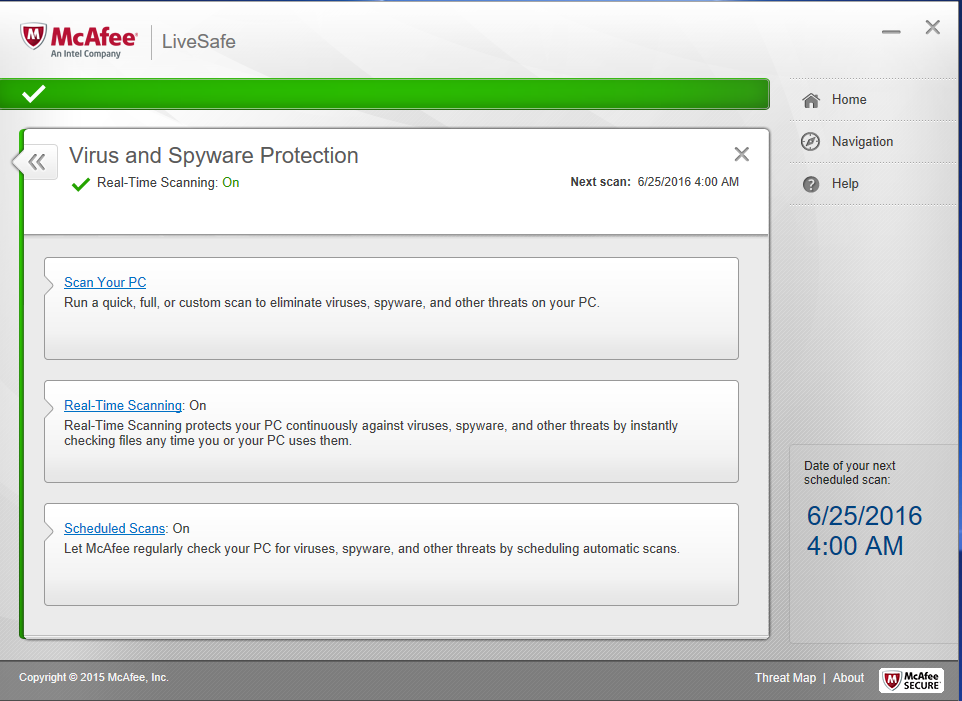
We arrive at this new menu. We will select the Real-Time Scanning option which should the second option.
Step 4 - Locating the Turn Off option
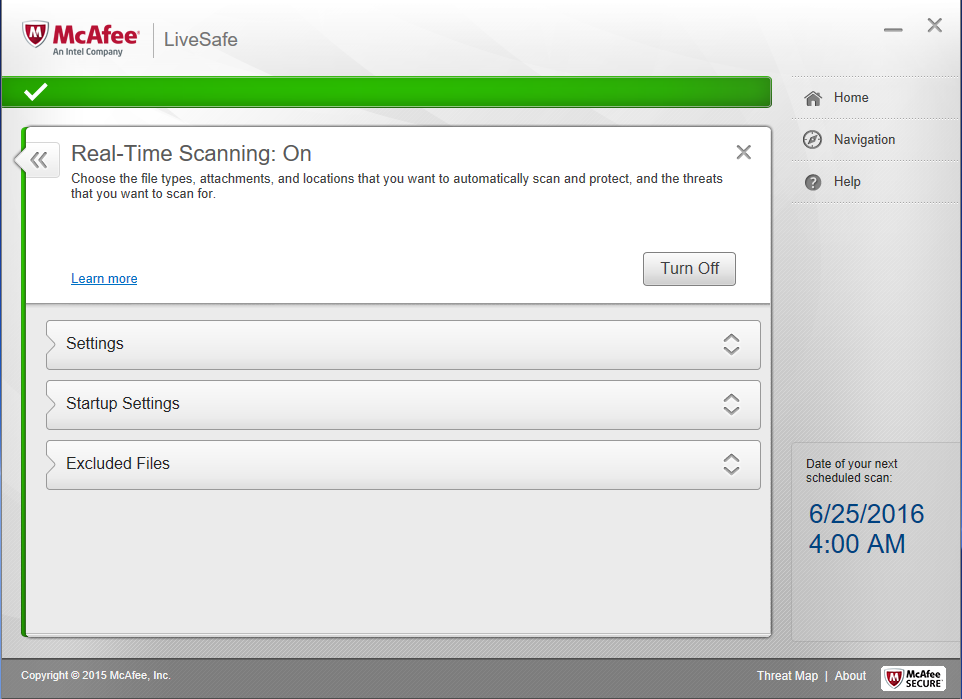
In this menu, we will select the turn off button associated with Real-Time Scanning.
Step 5 - Turning off Real-Time Scanning for 15 minutes
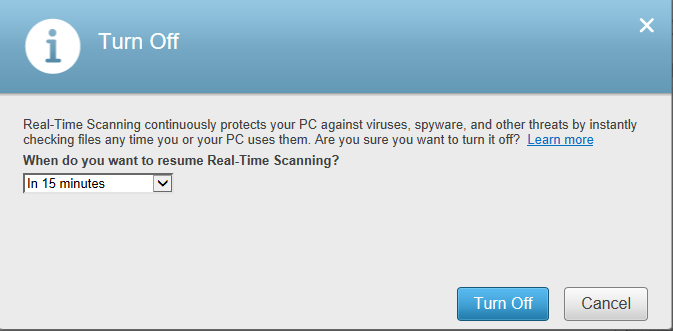
You can choose how long you can turn Real-Time Scanning off for. We will just turn it off for the default time of 15 minutes, since it shouldn’t take that long to download these programs.
Step 6 - Downloading Atom
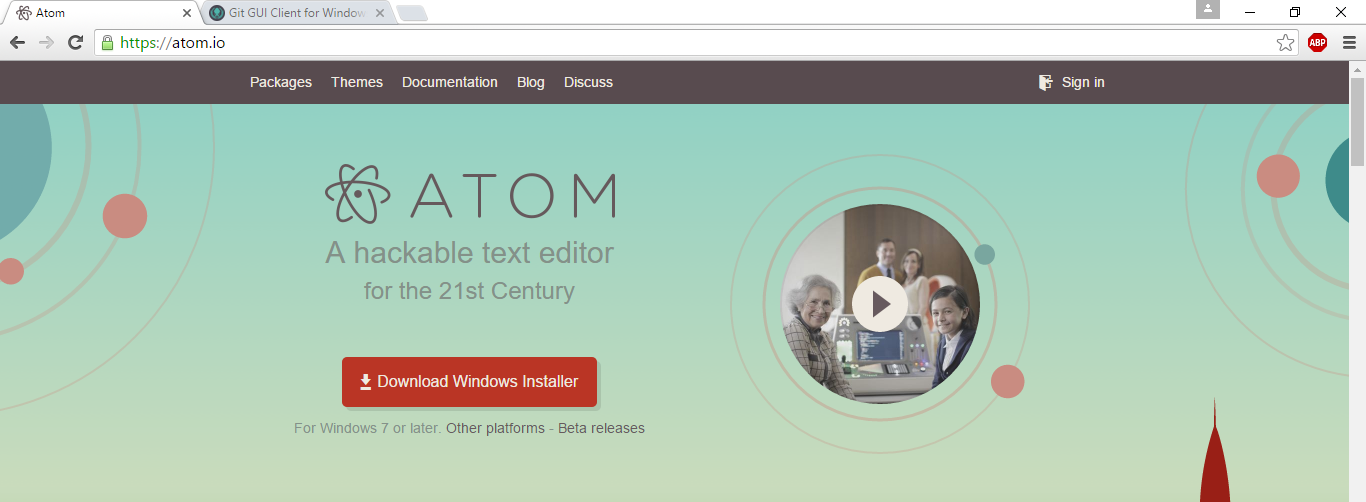
Go to Atom Homepage and click “Download Windows Installer”. When the setup application is complete, install atom onto your laptop.
Step 7 - Downloading GitKraken

Now go to GitKraken Homepage and click the “Download GitKraken” button. Again, after the installer is finished downloading, install GitKraken on your laptop.
Step 8 - Turning back on McAfee Real-Time Scanning
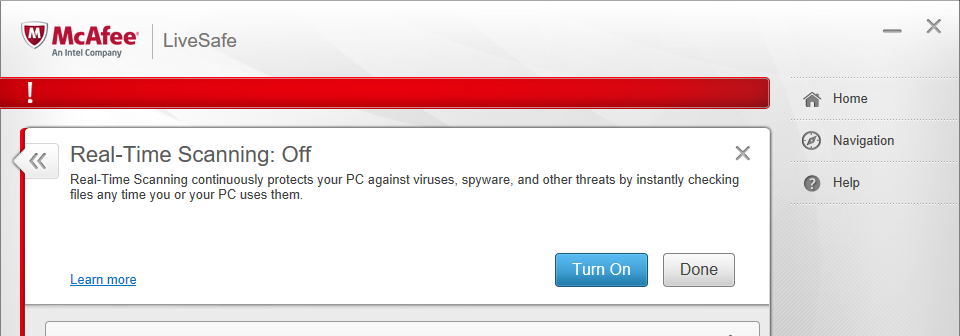
Now that we have both programs installed on your laptops, we will turn the Real-Time Scanning feature back on. So navigate to the McAfee window pictured above and click the “Turn On” button. Now you should be all set!